1 Comment

The story behind the square stool.

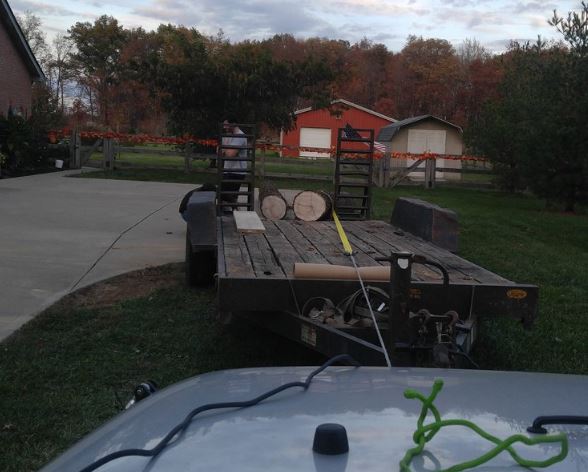
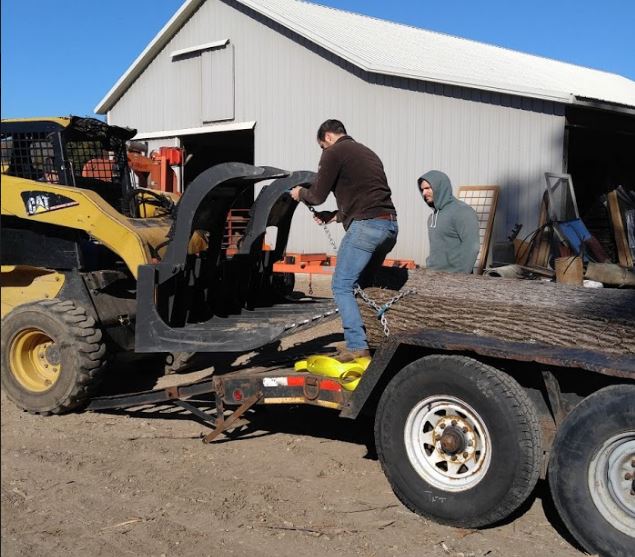
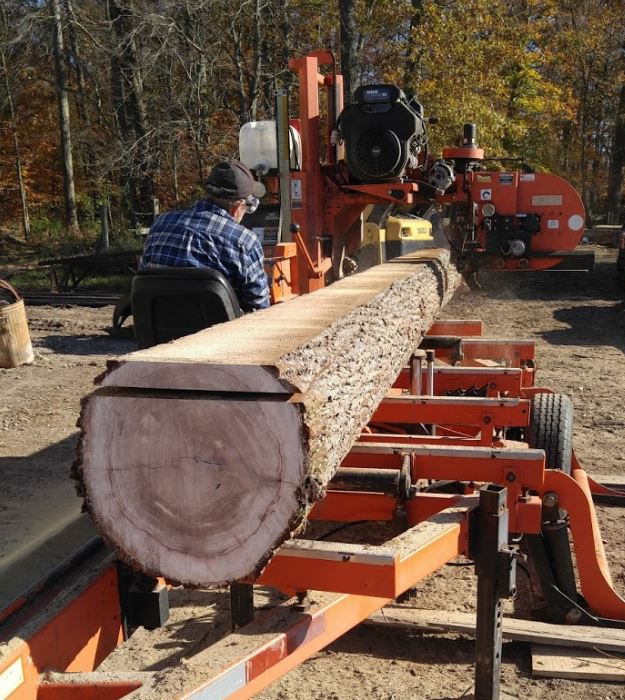
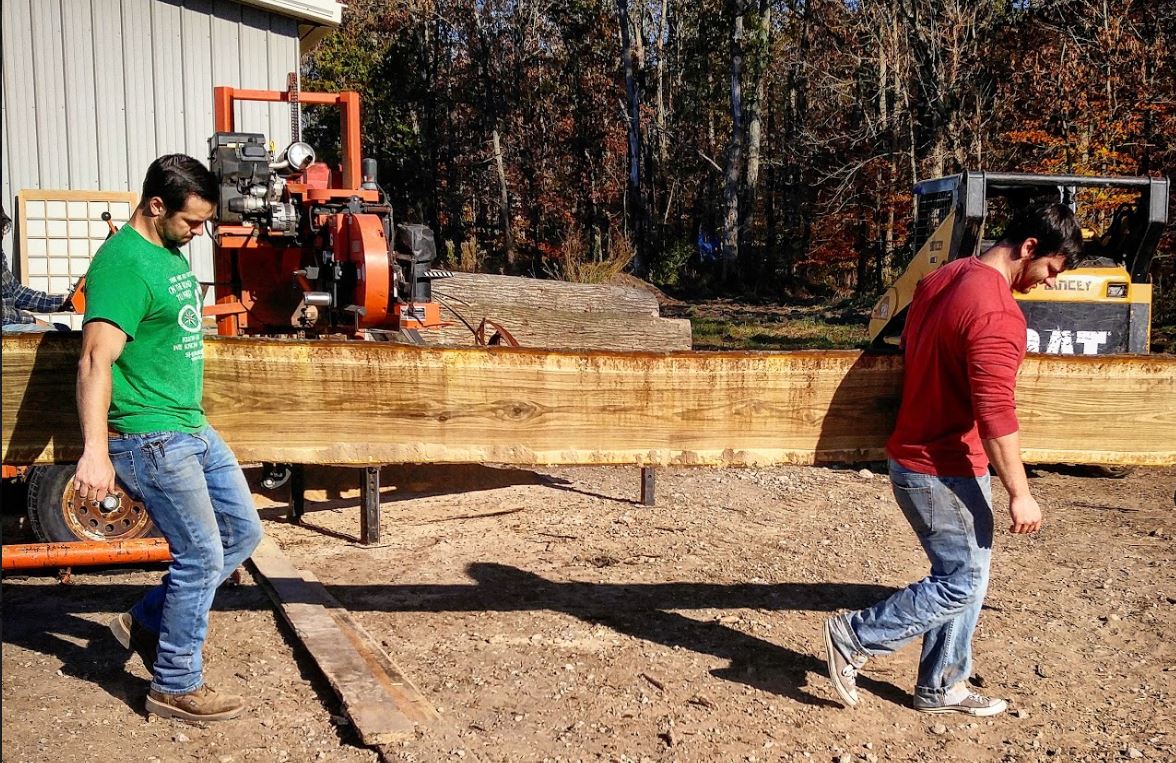
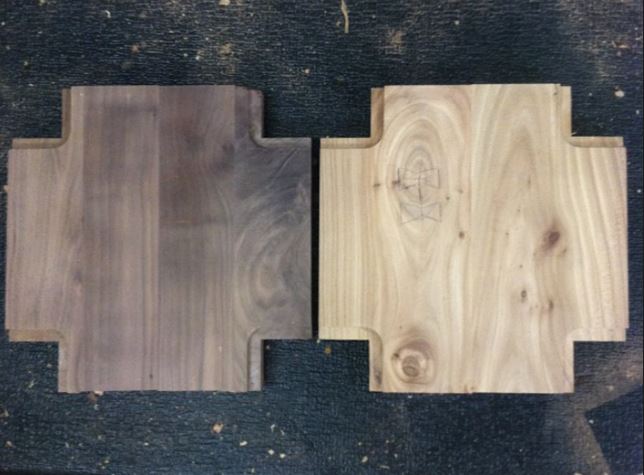
One evening while working on a  piece of furniture. I wanted to sit down to take a brake but I could not find a seat to sit in. As I stood there looking around, thinking to myself, how can I not have a chair or a stool to sit on in my shop. I thought, why not design something just for the shop, a "shop stool". That night I started thinking about what I want in a shop stool. A stool with arms or no arms, a back or no back and how would I use this around the shop. I didn't want arms because I am always moving in and out, up and down and I thought they would get in the way. I didn't really want a back either. I didn't want a front or a back so i could sit on it from every sideI wanted something simple but nice and sturdy that could withstand a beating and be used daily. I ended up coming up with my square stool, it is simple but elegant. I started my rough sketches and worked to scaled drawing of the stool. I really liked it so I went ahead and drew a full size sketch on the back of a piece of drywall I had around the shop. The next day we had to finish hanging dry wall on the back wall. Of course that piece of drywall, with my full size drawing, was the first one up. Once we finished the drywall I was able to start working on the shop stool again. As I looked around the shop for my full size drawing, I realized that I screwed it to the wall. Having to draw it again this time i drew it on a piece of plywood. Once I had everything I needed to get started I was able to figure out how much wood I needed. I started making one from walnut and one from elm.  

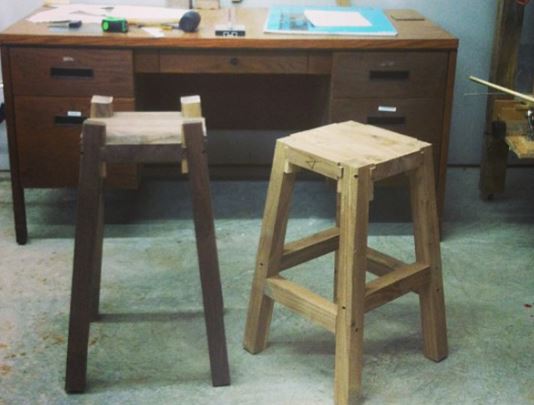
I started with the seat. I cut out my joinery and moved onto the legs. Once I had the legs on, I started to realize how much I am going to use this not only has a stool but as a saw horse. I was clamping stuff to the top of the seat to hold it in place as I worked on other projects. while moving the stool around the shop I thought a handle in the center would be great. Once I added the handle I could finish shaping and start sanding.

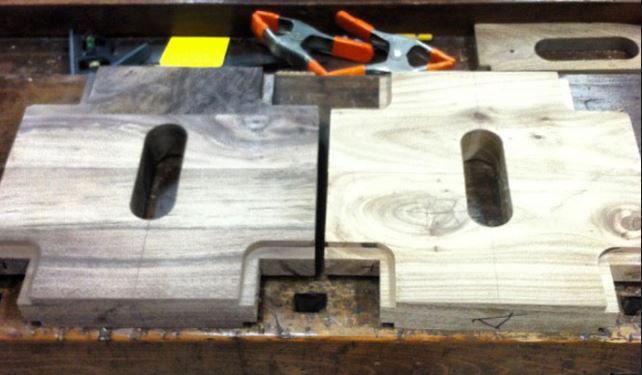
At this point all I have left is shaping and sanding. 

I love this stool and use every time I am in the shop.

1 Comment

Comment

Milling Lumber

We started milling our own lumber about 2 years ago. The whole process still fascinates me.

My most recent experiences.

One morning while having my morning coffee and getting ready to head to the shop. I thought I would check Craigslist to see if there were any logs posted for sale. Boom the first post that came up. "I have a walnut logs that is laying in my yard." After talking to the gentleman, he told me that this tree came down in the past storm.  He said he would have hated to cut it up into firewood. It was about 35 feet long up to the first branch! We  agreed on a price and now the fun begins. We went ahead and cut the log straight in half giving us two logs about 17' 6"  long by 22" in diameter making them a little more manageable to move and load up on a trailer. But, before loading onto the trailer, I sealed the ends to try and prevent more checking or splitting as the wood drys.

After loading the  logs on the trailer, I delivered them to the mill. 

Once at the mill, my friend, using his Bobcat moved them off the trailer and into position to be milled.

Once we have the log in position and secured with the hydraulic arm we can start cutting. I had one log cut up into 4/4 thickness or 1 inch and the other log cut to 8/4 or 2 inches thick.

In the picture above we are milling the 8/4 inch thick slabs. I like to leave them as slabs because I think it makes it easier to stack and store for drying. Once we get half way through the log we will flip it over and re grip it with the arm.

After the slab was cut we would pull it off and walk it back to the trailer.

When we were finished milling the lumber we headed back to the shop to stack them up and let them air dry. 

Above is a picture of the two logs stacked. You have to put sticker (wood separator) in between every piece to prevent mold and to help with the drying process. Once I have them all stacked I like to add ratchet straps around the logs to keep pressure on them and try and keep them from warping. Now we wait, a rule of thumb is 1 year per 1 inch of thickness for drying time.  I will have to wait at least a year before I can use the 1 inch material and 2 year before I can use the 2 inch material. 

Comment